

Remote access for one person is simple: your account, your computers. For a team it gets more interesting. The bookkeeper needs the accounting PC but not the design workstations. The new hire shouldn't be able to restart the server. And when someone leaves, their access should leave with them.
A View My Desktop team handles all of that. Here's how to set one up.
Before you start
- A plan for the team. Pro and Team are both priced per person. Pro covers the team, groups, invites, rules, and the deploy key in step 2. Team adds recording to your own storage, the activity log in step 6, and single sign-on. Every plan is free for 14 days, so you can set the whole thing up before paying.
- Someone to be the owner. Usually the business owner or whoever handles IT. The owner can't be removed by anyone else, so the team is never locked out.
1. Start the team
Sign in, open Team, type the business's name, and choose Start the team.
2. Add the computers
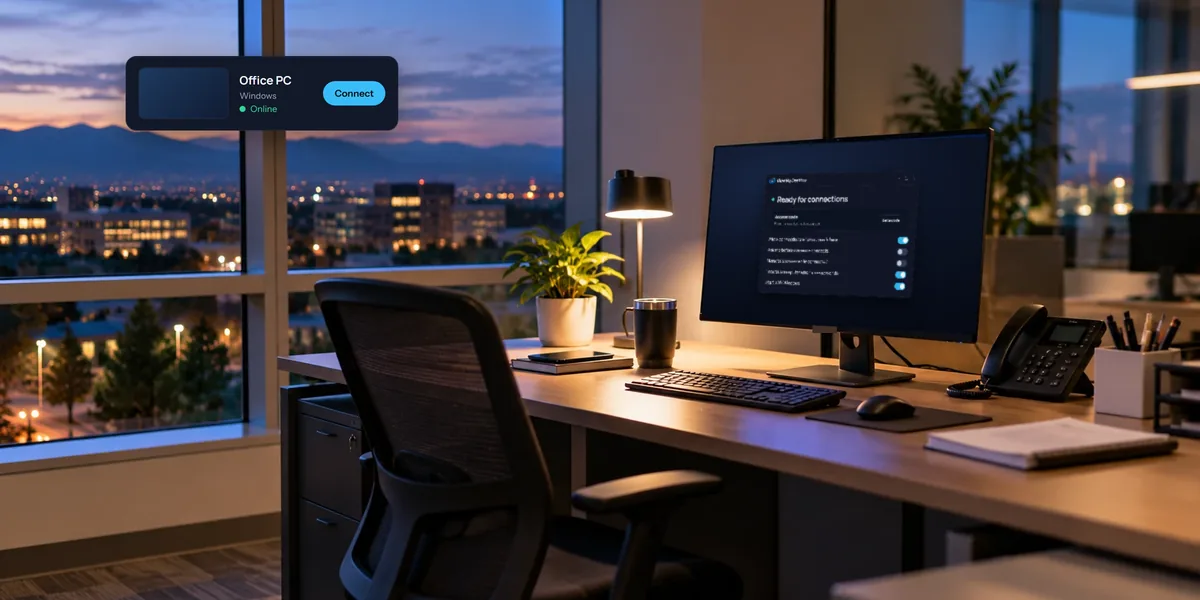
For a few computers, add them one at a time. Install the host on each, add it under My computers with the code it shows, then choose Manage on it and move it into the team.
For more than a handful of Windows PCs, use a deploy key. On the Team page, open Add computers and choose Make a deploy key. Install the host with the key, and each PC joins the team with no code to type. Copy the key when it's shown, because it's shown only once, and turn it off when you're done. Our guide to installing on many computers has the install command.
Each computer still has its own access code. People who connect to it need to know it.
3. Sort the computers into groups
Groups are how you give people some computers and not others. Open Groups and add one for each part of the business, like "Front office" or "Design studio". Then choose Manage on each computer and put it in its group.
4. Invite your people
Open Invites and choose Invite someone. Pick a role, and how long the link works:
- Member. Connects to the computers they're given.
- Admin. Also manages the team: its people, computers, groups, and rules, and reaches every computer.
Send the invite link to the person. When they open it, they make an account, or sign in, and join the team. Then, under Members, choose which computers each member can use: every team computer, or only certain groups.
5. Set the rules
Under Rules, decide what every session with a team computer may do:
- File transfer, to send files to and from team computers
- Copy and paste, so copied text goes both ways
- Remote printing, to print on the viewer's own printer
- Sound, Restart, and Guest links
- Chat, so people connected can send messages to the person at the computer
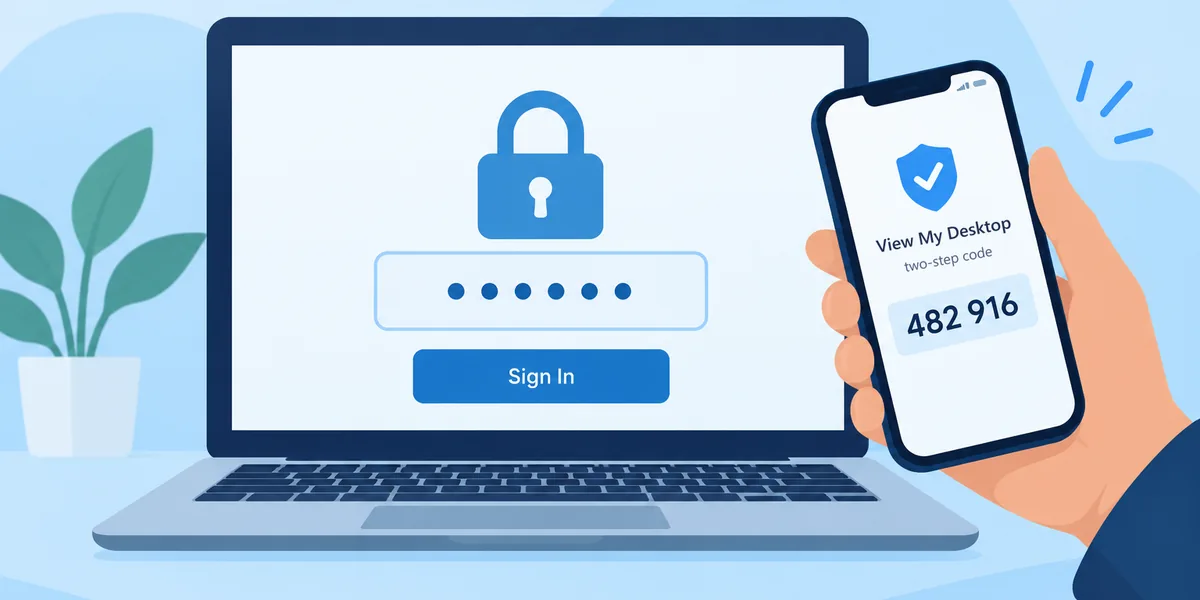
- Require two-step sign-in for everyone on the team
- Record sessions, on each computer, or on the Team plan to storage your business controls
The rules apply from each person's next session.
6. Keep an eye on the activity log
On the Team plan, Activity lists every session on the team's computers, with who connected, when, and for how long, along with changes admins make. You can download it as a spreadsheet for your records or an audit.
When someone leaves
Remove them from the team under Members. Their access to every team computer ends at once. If they knew a computer's access code, change it too, the same way you'd change a door code.
Going further: single sign-on
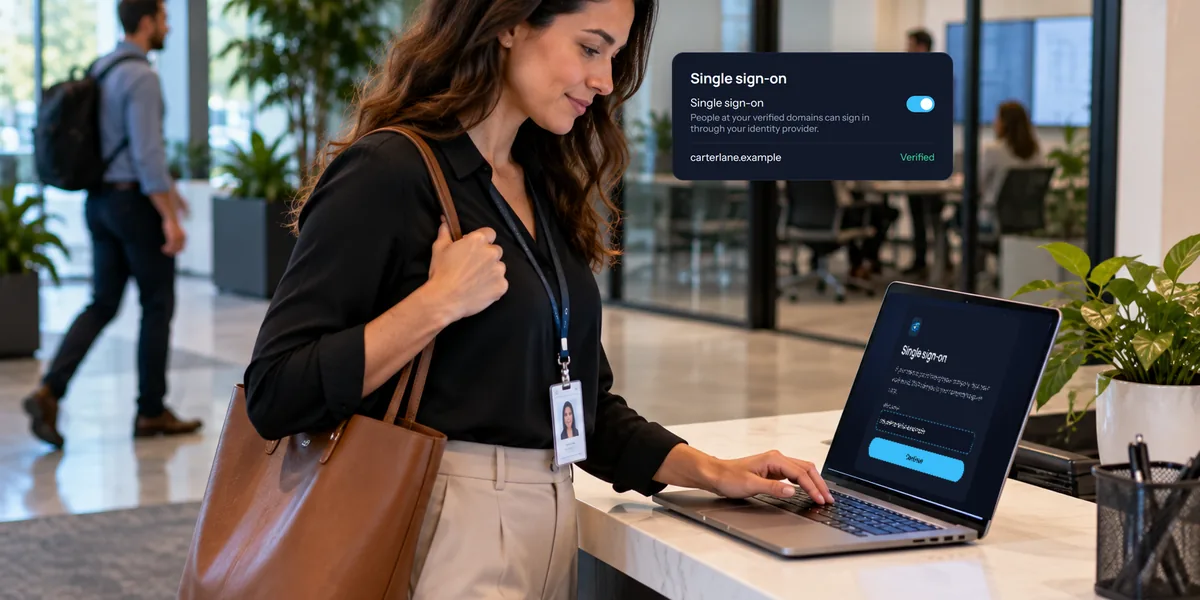
If your business uses Microsoft 365, Google Workspace, or Okta, your team can sign in with the work accounts they already have. When someone leaves and IT turns off their work account, their View My Desktop access goes with it. Our guide to setting up single sign-on walks through it.
Questions people ask
Can people use their own computers too?
Yes. Someone's personal computers stay on their own account and aren't seen by the team.
Do people on the team need to be at the computers to let others in?
No, unless you want them to. Each computer's host has a setting to ask before anyone connects. For PCs nobody sits at, see unattended access on Windows.